 Electro
Automatic Plant Watering with Soil Moisture Sensor and Arduino
Build an automatic plant watering system with a soil moisture sensor, relay and mini pump on Arduino Uno. Wiring, calibration, code and fixes.
On this page
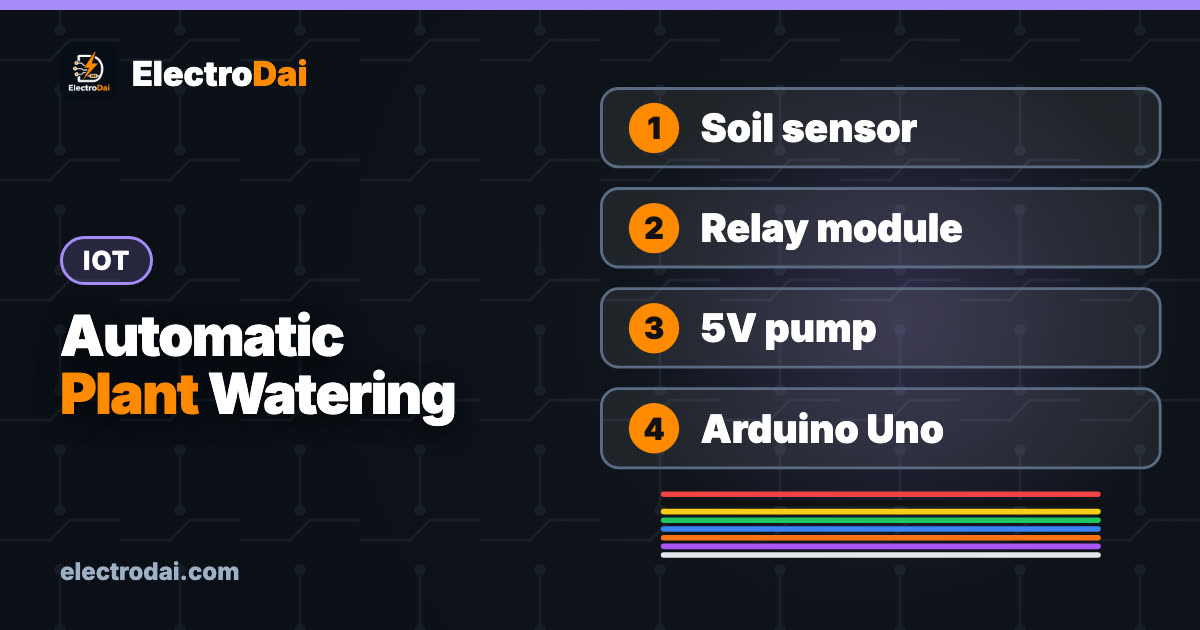
Going away for a few days and worried about your plants? An Arduino can check the soil and run a small pump only when the soil is dry. In this tutorial you will read a soil moisture sensor, calibrate it with your own soil, and switch a 5 V mini water pump through a relay module. The code includes a pump time limit and a rest period, so a faulty sensor cannot flood your pot.
Safety note
Keep water away from the Arduino, breadboard and power connections. Use only a low-voltage pump (5 V) from a USB power bank or a DC adapter. Never connect mains voltage to this circuit.
What you need
Scroll sideways to see all columns.
| Item | Qty | Notes |
|---|---|---|
| Arduino Uno (or clone) + USB cable | 1 | |
| Soil moisture sensor module | 1 | Capacitive type is better; resistive (two metal prongs) works but corrodes |
| 1-channel 5 V relay module | 1 | Isolated contacts COM, NO, NC |
| Flyback diode (1N4007 for this small 5 V pump; check the diode rating against pump current) | 1 | Across the pump terminals |
| Mini submersible pump, 5 V DC | 1 | With a small silicone tube |
| Separate 5 V supply for the pump | 1 | Regulated 5 V adapter or power bank with a suitable connector, rated for pump startup current |
| Water container and a plant pot | 1 | |
| Jumper wires | 8 | |
| Digital multimeter | 1 |
How it works
The sensor. A resistive probe measures how well the soil conducts a tiny current: wet soil conducts better. A capacitive probe measures the change in capacitance and has no exposed metal, so it lasts much longer in soil. Both modules give an analog voltage on the AO pin. The Arduino converts it to a number from 0 to 1023 with analogRead.
The direction depends on the module. On many common modules a higher number means drier soil. Some capacitive modules do the opposite pattern depending on the board. That is why you must calibrate: read the number in dry air (or very dry soil) and in a glass of water, and write those two numbers into the sketch.
The pump and relay. A pump motor draws more current than an Arduino pin can give, so the pin controls a relay module, and the relay switches the pump's own supply. The relay contacts are isolated from the Arduino, so the pump supply stays separate from the Arduino. Many relay modules are active LOW: the relay turns on when the IN pin is LOW. The sketch has a setting for this.
The safety logic. The sketch waters for at most 5 seconds, then waits 60 seconds so the water can soak in before checking again.
Connection table
Scroll sideways to see all columns.
| Component pin | Connects to |
|---|---|
| Soil sensor VCC | Arduino 5V |
| Soil sensor GND | Arduino GND |
| Soil sensor AO | Arduino A0 |
| Relay VCC | Arduino 5V |
| Relay GND | Arduino GND |
| Relay IN | Arduino D7 |
| Pump supply + (5 V) | Relay COM |
| Relay NO | Pump + (red wire) |
| Pump − (black wire) | Pump supply − |
| 1N4007 flyback diode across pump terminals | Stripe (cathode) to pump +, anode to pump − |
Signal path in one line:
Soil → sensor AO → A0 → code → D7 → relay → pump supply → pump
Step-by-step build
- Wire the sensor and the relay module to the Arduino as in the table.
- Wire the pump through the relay contacts and fit the diode across the pump. The pump supply can stay isolated from the Arduino because only the relay contacts switch it. Use COM and NO (normally open), so the pump stays off unless the relay is on.
- Put the pump in the water container and run the tube to the pot. Make sure the tube end cannot move out of the pot.
- Upload the sketch. Open Serial Monitor at 9600 baud.
- Calibrate: note the number with the sensor in the air (dry) and then with the tip in a glass of water (wet). Enter them in
DRY_VALUEandWET_VALUE. - Push the sensor into the soil, keeping the electronics above the soil line.
The code
// ElectroDai - Automatic plant watering
// Soil sensor AO -> A0, relay IN -> D7

const int SENSOR_PIN = A0;
const int RELAY_PIN = 7;

// Calibration: put YOUR readings here (see Serial Monitor)
const int DRY_VALUE = 800;   // reading in air or very dry soil
const int WET_VALUE = 350;   // reading in a glass of water

const int START_BELOW_PERCENT = 35;       // water when moisture is below 35 %
const unsigned long PUMP_MAX_MS = 5000;   // pump runs 5 s at most
const unsigned long REST_MS = 60000;      // wait 60 s before checking again

const bool RELAY_ACTIVE_LOW = true;       // most relay modules are active LOW

void pump(bool on) {
  bool level = RELAY_ACTIVE_LOW ? !on : on;
  digitalWrite(RELAY_PIN, level ? HIGH : LOW);
}

int readMoisturePercent(int raw) {
  // Convert to 0-100 %. map() works in either direction.
  int percent = map(raw, DRY_VALUE, WET_VALUE, 0, 100);
  return constrain(percent, 0, 100);
}

void setup() {
  pump(false);                  // preset the inactive output level on the Uno
  pinMode(RELAY_PIN, OUTPUT);
  Serial.begin(9600);
}

void loop() {
  int raw = analogRead(SENSOR_PIN);
  if (DRY_VALUE == WET_VALUE) {
    pump(false);
    Serial.println("Calibration error: dry and wet values must differ");
    delay(2000);
    return;
  }
  int percent = readMoisturePercent(raw);
  Serial.print("Raw: ");
  Serial.print(raw);
  Serial.print("  Moisture: ");
  Serial.print(percent);
  Serial.println(" %");

  if (percent < START_BELOW_PERCENT) {
    Serial.println("Soil dry - pump ON");
    pump(true);
    delay(PUMP_MAX_MS);         // short, fixed watering time
    pump(false);
    Serial.println("Pump OFF - resting");
    delay(REST_MS);             // let water soak in
  } else {
    delay(2000);
  }
}
If the percentage goes the wrong way (wet soil shows 0 %), swap the values of DRY_VALUE and WET_VALUE.
Testing with a multimeter
- Sensor supply: 5 V between sensor VCC and GND (many capacitive modules work down to 3.3 V).
- AO voltage: with the sensor in air you should read a high voltage, around 3.5 V to 4 V on many modules. In water it falls. This matches the
analogReadnumbers (about 5 V / 1023 per step). - Relay input: IN reads about 5 V (idle) and about 0 V when the relay is triggered, on an active-LOW module. You should hear the click.
- Pump supply: measure the 5 V supply at the pump terminals while the pump runs. A drop below about 4 V means the supply is too weak.
- Continuity: with the Arduino off, COM and NO should show an open circuit (no beep).
Troubleshooting
Scroll sideways to see all columns.
| Symptom | Likely cause | Fix |
|---|---|---|
| Pump runs all the time | Relay logic reversed | Change RELAY_ACTIVE_LOW; use NO not NC |
| Pump never runs | Calibration values entered incorrectly, or pump supply missing | Enter the measured dry and wet values; check COM and NO wiring |
| Relay clicks, pump silent | Pump supply too weak or wiring open | Check 5 V at the pump; try a stronger supply |
| Reading jumps | Loose probe or noisy USB | Press the sensor firmly into the soil |
| Resistive probe stops working after weeks | Corrosion | Use a capacitive sensor |
| Arduino resets when the pump starts | Pump powered from the Arduino 5V | Use a separate pump supply |
| Water leaks onto electronics | Tube movement | Clip the tube and keep electronics higher than the pot |
FAQ
Can I power the pump from the Arduino 5V pin?
Not recommended. Pump motors draw spikes of current that can reset the Arduino. Use the relay with its own supply.
Capacitive or resistive sensor?
Capacitive lasts far longer in wet soil. Resistive sensors are cheaper but the metal prongs corrode.
How often should the sensor check?
Soil changes slowly. A check every minute or two is plenty, and fewer checks also save power.
Can I use it with the monsoon rains in Nepal?
For outdoor pots, protect all electronics from rain, and keep the sensor and pump logic simple. This project suits indoor plants and balconies best.
Next step: learn the relay in detail in Arduino Relay Module Guide: Switch Loads Safely.

TinyML on ESP32 with Edge Impulse: Your First On-Device Model
Train a gesture recognition model with Edge Impulse and run it on an ESP32 with an MPU6050. Data collection, training, int8 deployment and testing.

ESP32-CAM Getting Started: Upload, Flash LED and Motion Photo
Upload code to the ESP32-CAM with a USB-serial adapter, fix brownout and Connecting errors, use the GPIO4 flash LED, and take a PIR motion photo.

Landslide Tilt Warning Prototype with MPU6050 and LoRa (Learning Build)
Build a learning prototype that detects tilt with an MPU6050 on an ESP32 and sends alerts over LoRa to a gateway. Wiring, code, testing and limits.