 Electro
DHT11 Weather Station with Arduino and 16x2 I2C LCD
Build a temperature and humidity display with a DHT11, Arduino Uno and 16x2 I2C LCD. Wiring table, commented code and troubleshooting.
On this page
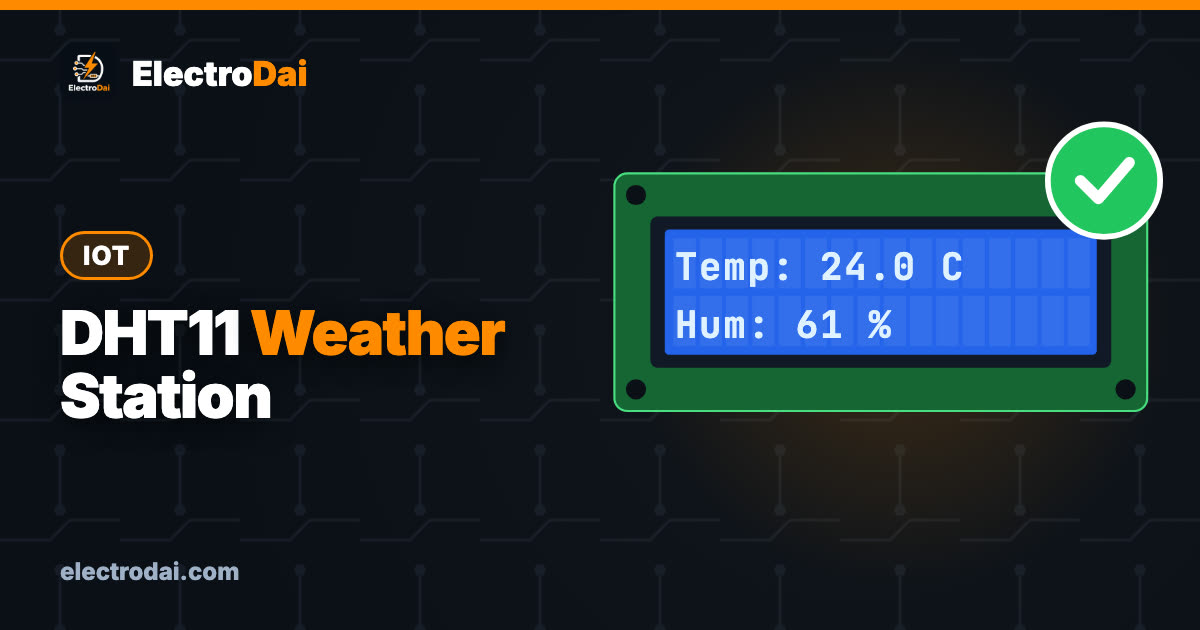
A small weather station that shows room temperature and humidity on a screen is a great first sensor project, and it is the base for many IoT builds later. In this tutorial you will read a DHT11 sensor with an Arduino Uno, show the values on a 16x2 LCD that uses only two data wires (I2C), and learn how to avoid the usual mistakes with libraries and addresses.
Safety note
This project uses 5 V from USB only. Keep the sensor away from water. The DHT11 measures air, so do not dip it in liquid.
What you need
Scroll sideways to see all columns.
| Item | Qty | Notes |
|---|---|---|
| Arduino Uno (or clone) + USB cable | 1 | |
| DHT11 sensor | 1 | Blue plastic body. Either a 3-pin module or a bare 4-pin sensor |
| Resistor 10 kΩ | 1 | Needed only for the bare 4-pin sensor (pull-up) |
| 16x2 LCD with I2C backpack (PCF8574) | 1 | 4 pins: GND, VCC, SDA, SCL |
| Jumper wires | 8 | |
| Breadboard | 1 | |
| Digital multimeter | 1 |
How it works
The DHT11 contains a humidity sensor and a thermistor, plus a small chip that sends the readings as a digital signal on one data wire. It measures humidity from about 20% to 90% RH with accuracy of roughly ±5 percentage points and temperature from 0 °C to 50 °C with roughly ±2 °C accuracy. These numbers are fine for learning and room monitoring, but not for precision work. The sensor can only give a new reading about once per second, so the code waits two seconds between reads, as used by the Adafruit library.
The data pull-up: the data line idles HIGH. A bare 4-pin DHT11 (pins VCC, DATA, NC, GND) needs a 10 kΩ resistor between VCC and DATA. A 3-pin module (usually marked + / OUT / −, or VCC / DATA / GND) already has this resistor on the board, so you do not add one.
The I2C LCD: the backpack chip converts two wires (SDA and SCL) into the many pins the LCD needs. On an Uno, SDA is A4 and SCL is A5. The backpack has an address, usually 0x27 or 0x3F. The contrast is adjusted with the small blue potentiometer on the back.
Connection table
Scroll sideways to see all columns.
| Component pin | Arduino Uno pin |
|---|---|
| DHT11 VCC (+) | 5V |
| DHT11 DATA (OUT) | D2 |
| DHT11 GND (−) | GND |
| 10 kΩ resistor (bare sensor only) | Between DHT11 VCC and DATA |
| LCD GND | GND |
| LCD VCC | 5V |
| LCD SDA | A4 |
| LCD SCL | A5 |
Signal path in one line:
Air → DHT11 → DATA → D2 → Arduino → I2C (A4, A5) → LCD
Step-by-step build
- Plug the DHT11 into the breadboard. Check pin labels on your module before wiring.
- Connect VCC to 5V, GND to GND and DATA to D2. Add the 10 kΩ pull-up if you have the bare 4-pin sensor.
- Connect the LCD backpack: GND, VCC, SDA to A4 and SCL to A5.
- Open Arduino IDE 2, go to Library Manager and install DHT sensor library (by Adafruit), Adafruit Unified Sensor and LiquidCrystal I2C by Frank de Brabander (three-argument constructor and
init()). - Upload the sketch. If the screen lights but shows only blocks, turn the contrast pot.
The code
// ElectroDai - DHT11 weather station with a 16x2 I2C LCD
// DHT11 DATA -> D2, LCD SDA -> A4, LCD SCL -> A5

#include <Wire.h>
#include <LiquidCrystal_I2C.h>
#include "DHT.h"

#define DHTPIN 2
#define DHTTYPE DHT11

DHT dht(DHTPIN, DHTTYPE);
LiquidCrystal_I2C lcd(0x27, 16, 2);   // try 0x3F if blank

void setup() {
  Serial.begin(9600);
  dht.begin();
  lcd.init();          // start the LCD
  lcd.backlight();
  lcd.setCursor(0, 0);
  lcd.print("ElectroDai");
  lcd.setCursor(0, 1);
  lcd.print("Weather Station");
  delay(2000);
  lcd.clear();
}

void loop() {
  float humidity = dht.readHumidity();
  float tempC = dht.readTemperature();   // Celsius

  // A failed read returns NaN (not a number)
  if (isnan(humidity) || isnan(tempC)) {
    lcd.setCursor(0, 0);
    lcd.print("Sensor error    ");
    lcd.setCursor(0, 1);
    lcd.print("Check wiring    ");
    Serial.println("DHT read failed");
  } else {
    lcd.setCursor(0, 0);
    lcd.print("Temp: ");
    lcd.print(tempC, 1);
    lcd.print(" C   ");          // spaces clear old digits
    lcd.setCursor(0, 1);
    lcd.print("Humidity: ");
    lcd.print(humidity, 0);
    lcd.print("%  ");
    Serial.print(tempC);
    Serial.print(" C, ");
    Serial.print(humidity);
    Serial.println(" %");
  }
  delay(2000);   // DHT11 needs 1 s or more between reads
}
Testing with a multimeter
- Sensor supply: between DHT11 VCC and GND you should read about 5 V.
- Data line idle: DATA to GND should read close to 5 V between readings (the pull-up holds it HIGH). A reading near 0 V means a missing pull-up or a short.
- LCD supply: 5 V between LCD VCC and GND. A low voltage often means a weak USB port.
- Reality check: breathe gently on the sensor. Humidity should rise within a few seconds, then fall slowly.
- I2C lines: SDA and SCL each read close to 5 V when idle.
Troubleshooting
Scroll sideways to see all columns.
| Symptom | Likely cause | Fix |
|---|---|---|
| "Sensor error" on LCD | Wrong pin, missing pull-up (bare sensor) or loose wire | Check D2, add 10 kΩ pull-up |
| Backlight on but no text | Contrast too low or wrong I2C address | Turn the blue pot; try 0x3F |
| Blank screen, no backlight | Wrong VCC/GND or no power | Check the 5V and GND wires |
| Readings stay at 0 or same value | Wrong DHTTYPE or readings taken too quickly | Use DHT11 and keep the two-second delay |
| Compile error "DHT.h not found" | Library missing | Install DHT sensor library and Adafruit Unified Sensor |
| Values jump around | Wire too long or noisy USB | Shorten wires, add 100 nF across VCC and GND |
| Temperature reads high | Sensor near the Arduino regulator or hot USB hub | Move it a few centimetres away |
FAQ
Is the DHT11 accurate enough?
It is fine for learning and comfort-level monitoring. For better accuracy, a DHT22 or similar is an upgrade, but the wiring and code are almost the same (change DHTTYPE to DHT22).
How do I find my I2C address?
Upload an I2C scanner sketch (search "I2C scanner" in the Arduino IDE examples or the Wire library examples). It prints the address in Serial Monitor.
Can I show Fahrenheit?
Yes. Use dht.readTemperature(true) and change the unit letter to F.
Can I use this at high altitude in Nepal?
Yes, the sensor reads temperature and humidity only. It does not measure pressure.
Next step: send these readings to your phone in ESP32 IoT Dashboard with Blynk: Send Sensor Data to Your Phone.

TinyML on ESP32 with Edge Impulse: Your First On-Device Model
Train a gesture recognition model with Edge Impulse and run it on an ESP32 with an MPU6050. Data collection, training, int8 deployment and testing.

ESP32-CAM Getting Started: Upload, Flash LED and Motion Photo
Upload code to the ESP32-CAM with a USB-serial adapter, fix brownout and Connecting errors, use the GPIO4 flash LED, and take a PIR motion photo.

Landslide Tilt Warning Prototype with MPU6050 and LoRa (Learning Build)
Build a learning prototype that detects tilt with an MPU6050 on an ESP32 and sends alerts over LoRa to a gateway. Wiring, code, testing and limits.