 Electro
Ohm's Law and How to Calculate the Right LED Resistor
Learn Ohm's law and calculate the right LED resistor for 5 V and 9 V supplies. Worked examples, forward voltage ranges and a value table.
On this page
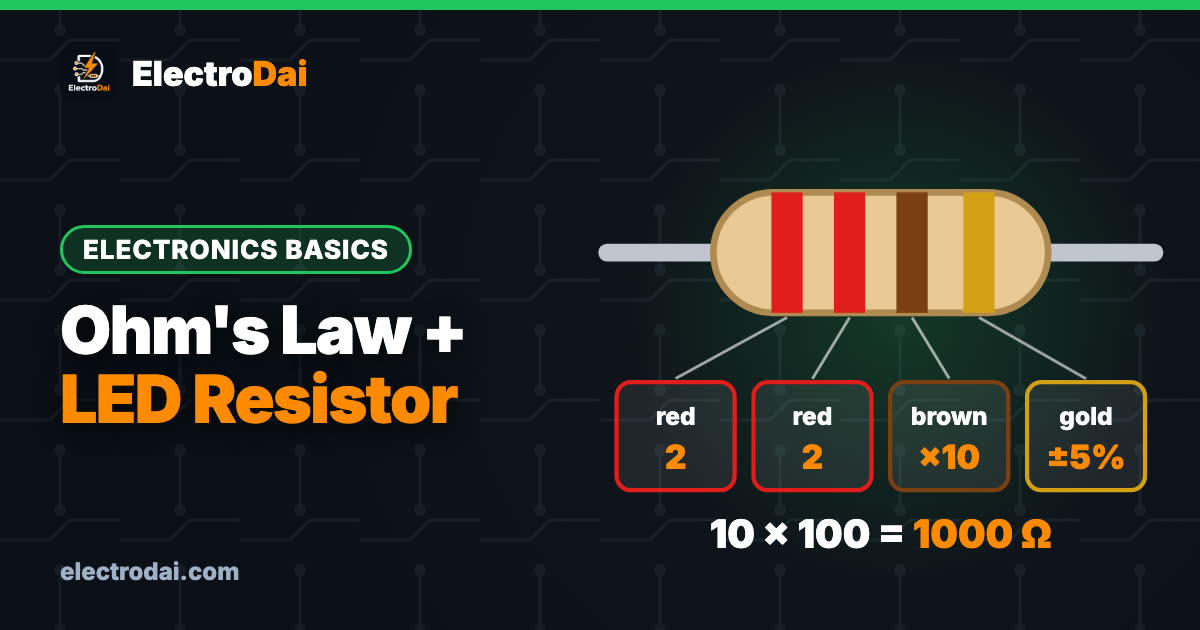
Connect an LED straight to a battery and it may light up very brightly for a few seconds, then die. The part that is missing is a resistor. In this guide you will learn Ohm's law, the one formula behind almost every beginner circuit, and use it to choose the correct LED resistor for a 5 V supply (Arduino, USB) and a 9 V battery. You will also learn to check the resistor's power rating.
Safety note
All numbers here are for low-voltage DC circuits of 12 V or less. A resistor that dissipates too much power gets hot enough to burn a finger or melt a breadboard, so do the power check below before you build.
Ohm's law in plain English
Three quantities are linked:
- V: voltage in volts (V), the "push"
- I: current in amperes (A), the "flow"
- R: resistance in ohms (Ω), the "squeeze"
V = I × R, so I = V ÷ R and R = V ÷ I.
Example: 5 V across a 1 kΩ (1,000 Ω) resistor gives I = 5 / 1000 = 0.005 A = 5 mA.
Power in a resistor is P = V × I = I² × R. This is the heat it must handle, measured in watts.
Remember to convert units: 1 mA = 0.001 A and 1 kΩ = 1,000 Ω.
Why an LED needs a resistor
An LED is not like a light bulb. Once the voltage reaches its forward voltage (V_F), its resistance drops a lot and the current rises very fast. Without a resistor, nothing limits that current. The LED has a typical safe current of about 10-20 mA (5 mm LED), so the resistor must absorb the extra voltage.
The resistor sees the supply voltage minus the LED's forward voltage:
R = (V_supply − V_F) ÷ I_LED
Typical forward voltages
These are typical ranges, not exact values. They change with brightness, brand and current, so for best results check the datasheet or measure it.
Scroll sideways to see all columns.
| LED colour | Typical V_F at about 15 mA |
|---|---|
| Red | 1.8 – 2.2 V |
| Yellow / orange | 2.0 – 2.2 V |
| Green (standard) | 2.0 – 3.0 V |
| Blue | 2.8 – 3.4 V |
| White | 2.8 – 3.4 V |
Red LEDs have a much lower V_F than blue and white, so they need a different resistor from the same supply.
Worked example 1: red LED on 5 V
Choose V_F = 2.0 V and a target current of 15 mA (0.015 A).
R = (5 − 2.0) / 0.015 = 3.0 / 0.015 = 200 Ω
200 Ω is an E24 value. If your kit stocks only E12 values, round up to 220 Ω. Rounding up keeps the current a little lower, which is safe.
Actual current = 3.0 / 220 = 13.6 mA.
Power check: P = I² × R = 0.0136² × 220 = 0.0407 W ≈ 41 mW. A 1/4 W (250 mW) resistor is more than enough.
Worked example 2: blue or white LED on 5 V
Choose V_F = 3.2 V and 15 mA.
R = (5 − 3.2) / 0.015 = 1.8 / 0.015 = 120 Ω
120 Ω is a standard value and gives 15 mA at the assumed forward voltage. Choose 150 Ω for a lower current: I = 1.8 / 150 = 12 mA. This is a good, bright current for a blue LED. Power: 0.012² × 150 = 0.0216 W ≈ 22 mW.
A 220 Ω resistor also works here and gives about 8 mA. If the LED has a higher forward voltage, the current will be lower. Recalculate for your LED and check its rated current before choosing a smaller resistor.
Worked example 3: red LED on a 9 V battery
V_F = 2.0 V, 15 mA.
R = (9 − 2.0) / 0.015 = 7.0 / 0.015 = 467 Ω, so use 470 Ω.
Current = 7.0 / 470 = 14.9 mA.
Power check: P = 0.0149² × 470 = 0.104 W ≈ 104 mW. That is about 42% of a 1/4 W resistor's rating, which is fine, but note how much more heat there is than on 5 V. A common rule is to keep resistor power below half its rating, which is satisfied here.
Worked example 4: blue or white LED on 9 V
V_F = 3.2 V, 15 mA.
R = (9 − 3.2) / 0.015 = 5.8 / 0.015 = 387 Ω, so use 390 Ω.
Current = 5.8 / 390 = 14.9 mA. Power: 0.0149² × 390 = 0.0866 W ≈ 87 mW, safe for a 1/4 W resistor.
(For a 12 V supply with a red LED: (12 − 2.0) / 0.015 = 667 Ω, so use 680 Ω. P = 0.0147² × 680 ≈ 0.147 W, which is fine for 1/4 W but warm; a 1/2 W resistor is more comfortable.)
Table of common values
Scroll sideways to see all columns.
| Supply | LED | V_F used | Resistor | Current |
|---|---|---|---|---|
| 5 V | Red | 2.0 V | 220 Ω | 13.6 mA |
| 5 V | Red (dimmer, for battery life) | 2.0 V | 470 Ω | 6.4 mA |
| 5 V | Red (very dim indicator) | 2.0 V | 1 kΩ | 3.0 mA |
| 5 V | Blue / white | 3.2 V | 150 Ω | 12 mA |
| 9 V | Red | 2.0 V | 470 Ω | 14.9 mA |
| 9 V | Blue / white | 3.2 V | 390 Ω | 14.9 mA |
| 12 V | Red | 2.0 V | 680 Ω | 14.7 mA |
Remember the Arduino limit: each I/O pin should stay under 20 mA, so 220 Ω with a red LED (13.6 mA) is a safe default.
Step-by-step: choose a resistor in 4 steps
- Write down the supply voltage (5 V, 9 V...).
- Look up or measure the LED's V_F (see the table).
- Pick a current within the LED and driver ratings (10 mA is a good starting point for many indicators). Calculate R = (V_supply − V_F) / I.
- Round up to an available standard value. Check current at the highest supply voltage and lowest expected forward voltage, and check P = I² × R against the resistor rating.
Common standard values nearby: 100, 120, 150, 180, 220, 270, 330, 390, 470, 560, 680, 820 Ω, 1 kΩ.
Testing with a multimeter
- Resistor: set to Ω, test the resistor out of circuit. A 220 Ω ±5% resistor reads 209-231 Ω.
- Measure the LED's V_F yourself: build the circuit, set the meter to DC volts and put the probes across the LED. A red LED shows about 1.9-2.1 V. Put it in the formula for a better answer.
- Measure the current without a current range: measure the voltage across the resistor and divide by its value. For a 220 Ω resistor with 3.0 V across it, I = 3.0 / 220 = 13.6 mA.
- Check the supply: a "9 V" battery is often 9.4 V when new and falls below 8 V as it ages, so currents will drift slightly.
Troubleshooting
Scroll sideways to see all columns.
| Symptom | Likely cause | Fix |
|---|---|---|
| LED does not light | LED reversed (long leg should go to +) | Turn it around |
| LED very dim | Resistor too large, or a weak battery | Recalculate with a lower R; check the battery |
| LED very bright, then dies | No resistor or value too low | Always use a series resistor |
| Resistor smells or turns brown | Power above its rating | Re-do the power check; use a higher-rated resistor |
| Blue LED does not light from a 3 V coin cell | Cell voltage near V_F | Use a higher supply voltage |
| Several LEDs in parallel, one dies | Shared resistor gives uneven current | Use one resistor per LED |
FAQ
Can I put the resistor on either side of the LED?
Yes. In a series circuit, current is the same everywhere, so the resistor works on the + side or the − side of the LED.
Why round up, not down?
A larger resistor means less current, which is the safer direction. A smaller value would push more current than you aimed for.
Can I connect LEDs in series?
Yes. Add the forward voltages: two red LEDs need about 4 V, so on 9 V use R = (9 − 4.0) / 0.015 ≈ 330 Ω. The supply must be higher than the sum of the V_F values.
What colour bands does 220 Ω have?
Red-red-brown-gold. 470 Ω is yellow-violet-brown-gold.

Know Your Components: 18 Electronic Components, Their Types, Symbols and Units
Beginner guide to 18 electronic components: resistor, capacitor, diode, LED, transistor, MOSFET, regulator and more. Types, symbols, units and mistak…

How to Read a Datasheet in 5 Minutes (Beginner Guide)
Learn to read any electronics datasheet fast: absolute maximum ratings, operating conditions, electrical characteristics, pinout and typical applicat…

Arduino vs ESP32 vs Raspberry Pi: Which Board for Your Project?
Arduino Uno, ESP32 or Raspberry Pi? Compare logic voltage, Wi-Fi, OS, real-time control and power, then pick the right board for 10 common projects.