 Electro
Powering Arduino Projects: USB, 9 V, Buck Converter (LM2596) and Regulators
Power Arduino and ESP32 projects without random resets: USB, 9 V batteries, linear regulator heat, setting an LM2596 buck converter to 5 V, and common ground.
On this page
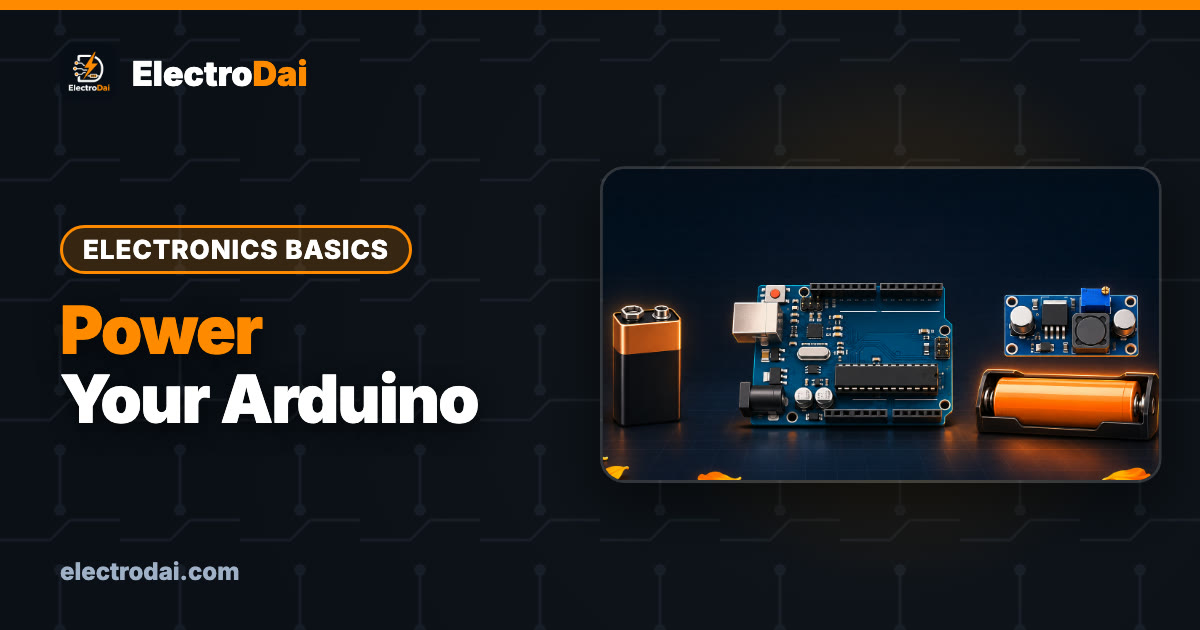
Random resets. A servo that twitches when the buzzer sounds. A fresh 9 V battery that is dead by evening. A regulator too hot to touch. Most of these "mystery" faults are power problems, not code problems.
This guide explains the common ways to power Arduino and ESP32 projects, why some of them waste energy as heat, how to set up an LM2596 buck converter safely, and the wiring habits that stop random resets. Nepali New Year typically falls in mid-April, and a new year is a good time to set up power properly before your next project.
Low voltage only: everything here runs from USB, batteries or a ready-made low-voltage adapter. Do not build or modify mains power supplies. Anything connected to the wall socket beyond plugging in a proper adapter is a job for a qualified electrician.
Arduino Uno power inputs
Scroll sideways to see all columns.
| Input | What to feed it | Notes |
|---|---|---|
| USB port | 5 V from a computer, phone charger or power bank | Simple and safe for most small projects |
| Barrel jack | Arduino recommends roughly 7 V to 12 V | Goes through the on-board 5 V regulator |
| VIN pin | Same as the barrel jack | Same regulator path |
| 5V pin | A regulated 5 V only | Bypasses the regulator and its protection. Never more than 5 V, and never at the same time as another 5 V source fighting it |
| 3.3V pin | Output only on an Uno | Limited current; for small 3.3 V sensors |
The ESP32 DevKit is similar: 5 V into USB or the 5V/VIN pin feeds its 3.3 V regulator. Its GPIO pins are 3.3 V only.
Why 9 V batteries drain so fast
The rectangular 9 V PP3 battery looks convenient, but it is a poor choice for most Arduino projects:
- Small capacity. A PP3 holds far less energy than a pack of AA cells or an 18650, because it is made of several tiny cells inside.
- The regulator throws away the extra voltage. The Uno needs 5 V. Feed it 9 V and the linear regulator turns the extra 4 V into heat.
- Voltage drops under load. Add a servo, relay or LCD backlight and the battery voltage sags quickly.
For a short demo it works. For anything that runs for hours, use a USB power bank, a proper adapter, or a lithium cell with the right converter.
Linear regulators: (Vin − Vout) × I = heat
A linear regulator (like the 7805, the AMS1117 or the regulator on your Uno) works by dropping the extra voltage across itself. The power it wastes as heat is:
Heat (watts) = (input voltage − output voltage) × current (amps)
Examples (illustrative numbers):
Scroll sideways to see all columns.
| Input | Output | Current | Heat in the regulator |
|---|---|---|---|
| 7 V | 5 V | 0.2 A | (7 − 5) × 0.2 = 0.4 W |
| 9 V | 5 V | 0.2 A | (9 − 5) × 0.2 = 0.8 W |
| 12 V | 5 V | 0.2 A | (12 − 5) × 0.2 = 1.4 W |
| 12 V | 5 V | 0.5 A | (12 − 5) × 0.5 = 3.5 W |
A small regulator with no heatsink can only get rid of a modest amount of heat before it gets very hot or shuts down. That is why an Uno powered from 12 V gets hot, or resets, as soon as you add a few modules on its 5 V pin. For big voltage drops or more current, use a buck converter. The Ohm's law guide covers the basics behind these calculations.
Linear regulators still have their place: they are simple, quiet (little electrical noise), and fine for small drops and small currents, such as an AMS1117-3.3 making 3.3 V from 5 V for a sensor.
Buck converters: efficient step-down
A buck converter switches on and off very fast and uses an inductor to step the voltage down. Instead of burning the extra voltage as heat, it converts most of it into useful current. The LM2596 module (a small blue board with a multi-turn trimmer screw) is the most common one in student projects.
Key points from the LM2596 datasheet and typical modules:
- Input: it needs an input a couple of volts higher than the output you want. Check your module's maximum input voltage and stay well below it.
- Output: adjustable with the trimmer screw.
- Current: the chip is rated for up to 3 A, but small modules get hot well before that without extra cooling. Plan for well under the maximum.
Set 5 V before connecting your board
LM2596 modules often arrive set to some random output voltage, sometimes much higher than 5 V. Connect one to an Arduino or ESP32 without checking and you can destroy it in a second.
- Connect only the power source to IN+ and IN− (for example a 12 V adapter or a battery pack). Nothing on the output.
- Set your multimeter to DC volts and put the probes on OUT+ and OUT−.
- Turn the trimmer screw slowly. It is a multi-turn screw, so it may need many turns before the voltage changes; on many modules, turning anticlockwise lowers the voltage, but check yours.
- Set the output to 5.0 V (or 5.1 V to allow for a small drop in the wires).
- Disconnect power, connect your board's 5V pin and GND to OUT+ and OUT−, then power up and measure again under load.
- A drop of hot glue or nail polish on the screw stops it being turned by accident.
Our multimeter guide explains how to measure DC voltage.
Buck converter wiring
Scroll sideways to see all columns.
| Buck module pad | Connects to |
|---|---|
| IN+ | Battery pack or adapter positive (for example 12 V or a 2-cell lithium pack) |
| IN− | Battery pack or adapter negative |
| OUT+ (set to 5.0 V first) | Arduino 5V pin, or a servo power rail |
| OUT− | Arduino GND, and every other GND in the project |
Batteries and lithium cells
Scroll sideways to see all columns.
| Source | Good for | Watch out |
|---|---|---|
| USB power bank | Arduino and ESP32 projects, robots (logic side) | Many switch off when the current is very low |
| AA packs | Simple, safe projects | Voltage sags under motor load |
| 9 V PP3 | Very short demos | Small capacity, wasted as regulator heat |
| One 18650 cell | Portable IoT nodes | Needs a boost converter for 5 V or a suitable regulator for 3.3 V; needs a proper charger |
| 2 × 18650 pack | Robots, buck converter input | Needs protection and a correct 2-cell charger |
Lithium cells must be handled carefully: protected cells, proper holders, no shorts, and never charging damaged cells. Read 18650 Battery Safety and the TP4056 Charger Module on ElectroDai before you use them.
Power banks that switch off
Many power banks turn themselves off if the load current is very small, because they think nothing is connected. An ESP32 in deep sleep or a tiny Arduino sketch may be "too small" and the power bank shuts down after some time. If this happens, try a different power bank (some have an always-on or low-current mode), or use another power source.
Common ground and separate supplies
Two habits fix most random resets:
- Separate supplies for noisy loads. Motors, servos and relays draw big current spikes. Give them their own supply (or their own buck converter), and keep the Arduino on a clean supply.
- Connect all grounds together. Every signal is measured relative to ground. If the motor supply and the Arduino do not share a ground, the control signals have no common reference and nothing works properly.
Also add a capacitor (for example 100 µF to 470 µF electrolytic, correct polarity, voltage rating above the supply) across the servo or motor power rail near the load to smooth sudden dips.
This is the same setup our line follower robot uses: battery for motors, power bank for the Arduino, grounds connected.
Troubleshooting
Scroll sideways to see all columns.
| Symptom | Likely cause | Fix |
|---|---|---|
| Arduino resets when a servo or motor moves | Shared supply dips | Separate supply for the load, common GND, add a capacitor |
| Regulator on the Uno is very hot | High input voltage and too much current on 5V | Lower the input voltage or use a buck converter |
| 9 V battery dead in hours | Low capacity plus regulator waste | Use a power bank or a pack with a buck converter |
| Board died when a buck module was connected | Output not set to 5 V first | Always set and measure before connecting |
| Buck output voltage drops under load | Input too close to output, or module overloaded | Raise input voltage; reduce load; add cooling |
| Project switches off after some time on a power bank | Power bank auto-off at low current | Use a different power bank or supply |
| Sensors give strange readings | Missing common ground | Join all GND wires |
FAQ
Can I power the Arduino from USB and the barrel jack at the same time?
The Uno is designed to choose between them automatically, but there is no benefit for most projects. Pick one source.
Can I feed 5 V from a buck converter into the 5V pin?
Yes, if it is set accurately to 5 V and measured first. This bypasses the on-board regulator, so it is your responsibility to keep it at 5 V.
Is a buck converter noisy?
It switches at high frequency and can add some electrical noise. For most Arduino projects this is fine. For sensitive analog measurements, add filtering or use a linear regulator for the last small step.
Why does my ESP32 reset when Wi-Fi starts?
Wi-Fi transmission draws short current bursts. A weak supply, long thin wires or a poor USB cable can dip the voltage. Use a good supply, short wires and a capacitor near the board.

Know Your Components: 18 Electronic Components, Their Types, Symbols and Units
Beginner guide to 18 electronic components: resistor, capacitor, diode, LED, transistor, MOSFET, regulator and more. Types, symbols, units and mistak…

How to Read a Datasheet in 5 Minutes (Beginner Guide)
Learn to read any electronics datasheet fast: absolute maximum ratings, operating conditions, electrical characteristics, pinout and typical applicat…

Arduino vs ESP32 vs Raspberry Pi: Which Board for Your Project?
Arduino Uno, ESP32 or Raspberry Pi? Compare logic voltage, Wi-Fi, OS, real-time control and power, then pick the right board for 10 common projects.